

Contacts · Help
Create customers, vendors, employees and business-owner contacts
Choose the right contact type, create a record for the selected entity, review the relevant fields and verify the saved result before using it in transactions.
On this page
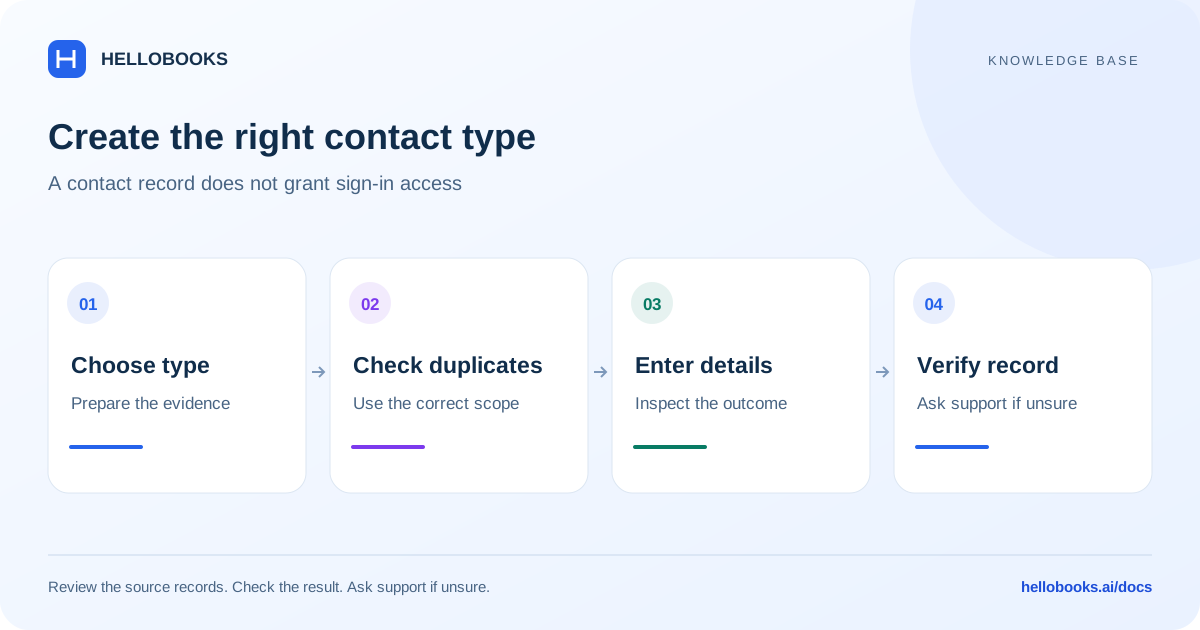
Choose the correct contact record
Contacts separates Customers, Vendors, Owners and Employees. Choose Customers for a customer record used in sales and receipts; Vendors for a supplier record used in purchases and payments; Employees for an employee record; and Owners for a business-owner payee record.
Creating one of these records is not a documented invitation to log in to HelloBooks. In particular, Add Business Owner creates an accounting contact; it does not grant organization-owner or platform-owner permissions. Use the separate Users & Roles settings for access-management questions.
The reviewed Contacts hub shows Customers and Vendors in Tally-manual mode; Owners and Employees are not shown in that mode. Labels can also vary with industry configuration. If the expected tab is missing, check the entity and integration context before creating a different type of contact.
Check the entity, existing records and source details
Select the correct organization and entity. Search the appropriate contact list first using the name and any known reference. Compare similar names before deciding to add a record; changing a display name merely to get past a duplicate warning can split one party's transactions across duplicate contacts.
Have the approved display name, company name, contact details, addresses, currency, payment terms and applicable tax details available. Enter only the fields relevant to the relationship. Country-specific fields and available lookup options can differ.
Customer, vendor and business-owner creation buttons have separate permissions. If the button is unavailable, ask the entity owner to check access or email hello@hellobooks.ai. A visible field or successful format check is not proof that tax information, bank ownership or payment instructions are correct.
If you use a lookup or AI prefill, compare the filled fields with the source before saving. Creating a contact does not itself record an opening balance, issue an invoice, pay a bill or run payroll.
Add a customer
The reviewed customer form contains Basic Information, Financial & Tax Details and Payment & Additional Details. Display Name is required and limited to 50 characters. If an email is supplied, the form requires a valid address of no more than 50 characters; supplied phone and postal-code values are also checked.
The basic screen offers Create Customer for a minimal record. For a more complete setup, use Next through the remaining sections and finish with Save Customer. Do not interpret a minimal record as completing all tax, bank or payment setup.
- Open Contacts, choose Customers and select Add Customer. The Customers area under Sales also has an Add Customer flow when available.
- In Basic Information, enter Display Name and review Company Name, Customer Type, Contact Name, Email and the applicable address fields.
- Select Next and review Financial & Tax Details for the relevant country. Enter verified values only; a lookup result still needs review.
- Select Next to Payment & Additional Details. Review Default Payment Terms, Default Payment Method and Payment Notes where applicable. Confirm the intended settings before relying on them on a document.
- Select Save Customer and wait for Customer created. If you deliberately create from Basic Information instead, use Create Customer and perform the same result checks.
- Return to the customer list for the same entity, find the saved record and check its details. If an attachment or price-list warning appears, resolve that item on the existing customer instead of creating another customer.
Add a vendor or supplier
The vendor form uses the same main section pattern as the customer form. Display Name is required and limited to 50 characters; supplied email, phone and address values are validated. The form's tax and bank fields depend on country and applicable selections.
Use a supplier-approved name and contact address. A Default Payment Method is a preference on the contact, not evidence that HelloBooks has sent money or that a payout connection is authorized.
- Open Contacts, select Vendors and choose Add Vendor. The Vendors area under Purchases can also open this form when available.
- Complete Basic Information, starting with Display Name. Review Company Name, Vendor Type, Contact Name, Email and relevant addresses.
- Use Next to inspect Financial & Tax Details and enter the applicable verified details. Review registration or eligibility choices with the person responsible for your tax setup.
- Use Next to Payment & Additional Details. Review Default Payment Terms, Default Payment Method and any notes or additional selections.
- Select Save Vendor and wait for Vendor created. For an intentionally minimal record, Create Vendor on Basic Information uses the same creation action.
- Find the vendor in the correct entity's list and verify the saved values. If Vendor created but attachment upload failed appears, the record exists; check the existing vendor and resolve its attachment separately.
Add an employee record
Add Employee opens a separate form with Basic Information, Employment & Payroll, Payment & Cards and Additional Details. The reviewed save requires a display name or at least a first or last name, plus organization and entity context.
Employment and payroll fields describe the employee record. Saving them is not a payroll run, approval, bank payout, statutory filing or an invitation for the employee to sign in. Enter compensation and accounting mappings only when you have the approved values.
Supplied PAN, Aadhaar and IFSC values have format checks in this form. A successful format check does not verify the real person's identity, statutory registration or bank account. Do not paste invented identifiers to bypass a warning.
- In Contacts, select Employees and choose Add Employee.
- In Basic Information, enter Display Name or the person's name fields. Review Employee ID and the selected entity context; add the relevant address if needed.
- Choose Next to Employment & Payroll. Review Employment Type, Employee Status, Joining Date, Department, Designation, Pay Frequency, Base Salary and Currency as applicable.
- Review Payment & Cards and Additional Details for the fields your process needs. Do not guess internal reporting IDs, payroll accounts or payment credentials. Ask support if a required mapping is unclear.
- Select Create Employee on the final step and wait for Employee created successfully. Previous returns to an earlier section; Cancel leaves the form.
- Return to Employees and verify the record and relevant fields for the same entity. Confirm payroll and payment setup separately before including the employee in a payroll process.
Add a business-owner payee
The Owners tab holds business-owner contacts. The form has Basic Information, Financial & Banking Details and Additional Details. It requires Display Name, Business Owner Type, Ownership Percentage and Contact Person. Supplied email, phone and postal-code values are checked.
Use the actual approved ownership percentage and type. The reviewed form checks that the percentage is supplied; it does not establish legal ownership or validate that percentages across all owners total 100. The documented bank-fields collection for this form is limited to India; do not assume every country's banking fields are available.
Adding the owner contact does not record capital, a drawing or reimbursement, and it does not grant application permissions. Those are separate operations.
- In Contacts, select Owners and choose Add Business Owner.
- Enter Display Name, select Business Owner Type, enter the approved Ownership Percentage and complete Contact Person in Basic Information.
- Review Company Name, contact details and addresses. Use Next to inspect Financial & Banking Details, then Additional Details for applicable information.
- Select Save Business Owner and wait for Business owner created successfully. The form returns to the Owners list after a successful request.
- Reopen the saved owner contact and compare the ownership and contact details with your source. If creation failed, note that the form may reset; check the existing list and error before entering it again.
Example: set up four different relationships
Fictional example: Example Studio sells services to Northwind Retail, buys equipment from Acme Supplies, employs Sam Lee and records Jordan Lee as a business-owner payee. Add Northwind Retail under Customers, Acme Supplies under Vendors, Sam Lee under Employees and Jordan Lee under Owners. Confirm the selected entity before each creation.
If Northwind Retail agrees to Net 30, select that term where available in the customer's payment settings and check the due date on the next relevant draft invoice. The contact setup itself does not create that invoice or an incoming receipt.
Sam's employee record and Jordan's owner contact remain distinct from user invitations. If either person needs to log in, have an authorized administrator review the separate Users & Roles workflow. If one real party has multiple accounting roles, ask support for the supported setup before creating duplicates across categories.
Check creation and handle partial success
A new row can appear while a creation request is still pending. Wait for the result, then refresh or reopen the correct entity's list and inspect the record. If the response is uncertain, search before resubmitting.
Customer name already exists or Vendor name already exists: compare the existing record and tax identity before changing the name. A tax-ID conflict is a different issue from a name conflict; keep the exact error for support.
Customer created but attachment upload failed, Vendor created but attachment upload failed, or a customer price-list assignment warning: the contact may have saved while a follow-up action failed. Work with that saved record and avoid a second creation.
Please enter a valid display name: provide the intended name within the form's limit and remove unsupported hidden characters. For customer and vendor contacts, supplied email values have a 50-character limit in this reviewed form. Contact support if a legitimate address cannot fit.
Organization or Entity not found on employee creation: select the intended organization and entity and reopen the form. If a control is missing, check permissions and the integration context rather than creating a different contact type.
Get help with contact setup
Email hello@hellobooks.ai with the contact type, entity and country, record reference if one exists, exact error and intended result. State whether a creation message appeared and whether the record exists after reloading. Include a redacted screenshot if needed.
Do not email passwords, full payment-card information, one-time codes or unredacted employee identity documents. Review and send the email draft yourself, and keep the support reply or reference. Opening a support link alone does not create a ticket.
Frequently asked questions
How do I add a customer in HelloBooks?
For the correct entity, open Contacts, Customers, Add Customer. Enter Display Name in Basic Information, review contact and applicable country details, then use Next through Financial & Tax Details and Payment & Additional Details. Select Save Customer and verify the record after Customer created. Create Customer on Basic Information also supports a deliberately minimal record.
How do I add a supplier?
Use Contacts, Vendors, Add Vendor for the selected entity. Enter Display Name, review basic, financial/tax and payment details, and select Save Vendor after the later steps. Wait for Vendor created and reopen the record to check it. The vendor record itself does not pay a bill.
How do I create an employee?
Open Contacts, Employees, Add Employee where available. Enter a display name or name fields, review the relevant employment, payroll, payment and additional sections, then select Create Employee and verify the saved record. This creates an employee record; payroll runs and login invitations are separate workflows.
Does Add Business Owner grant owner access to HelloBooks?
No. Contacts, Owners, Add Business Owner creates an accounting payee record with ownership and contact details. It is not an organization-owner invitation or platform-owner permission change. Ask an authorized administrator about Users & Roles for login access.
What does the business-owner form require?
The reviewed Add Business Owner form requires Display Name, Business Owner Type, Ownership Percentage and Contact Person. Use approved ownership information. A successful save does not establish legal ownership or prove that all owners' percentages total 100.
Should I create the contact again if an attachment upload failed?
No. A Customer created but attachment upload failed or Vendor created but attachment upload failed warning indicates that contact creation succeeded before the attachment step failed. Find the existing record and resolve the attachment there, or email hello@hellobooks.ai with its reference.
Why are Owners or Employees missing from Contacts?
The reviewed Contacts hub omits Owners and Employees in Tally-manual mode. Confirm the selected entity and integration context. Permissions and configuration can also affect controls; email hello@hellobooks.ai if your expected workflow is unavailable.
Does a contact's payment method send money automatically?
No payment is established by creating a contact or choosing its Default Payment Method. Check the dedicated incoming-payment, bill-payment or payroll workflow for recording and payment execution. The public assistant cannot confirm that money moved.